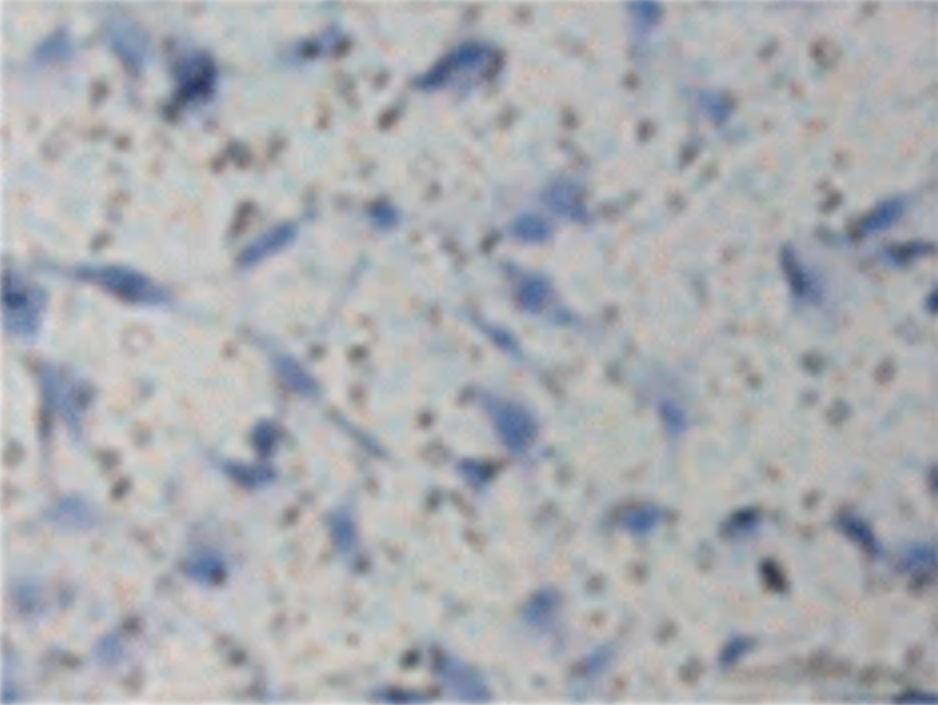
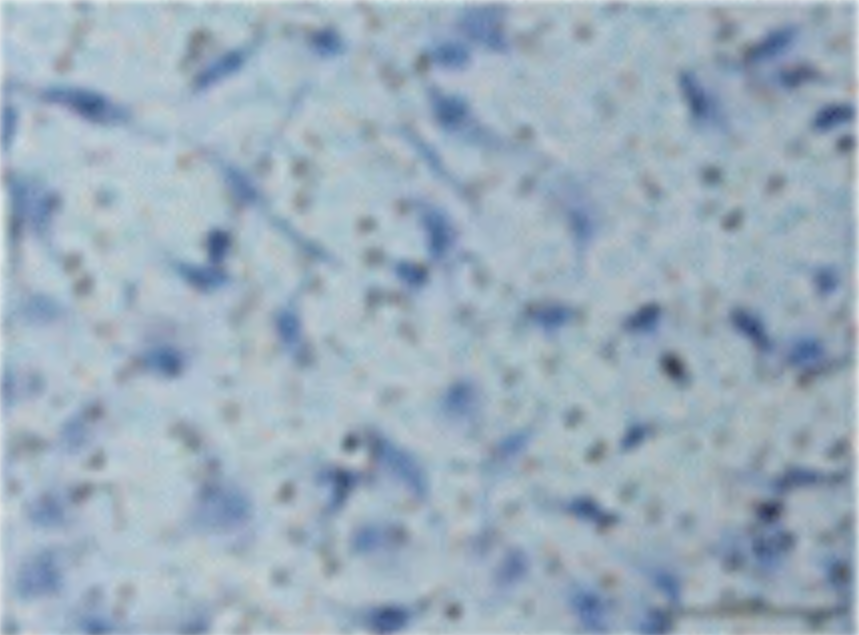
Compare the similar of two images
Picture similarities a
Image from: © Chun-Guang Shan; 2019
 |
 |
|---|
Why this example:
- Youtube: 736778E78A9F9447776A74287756D7
- Twitter: Elisabeth Bik
|
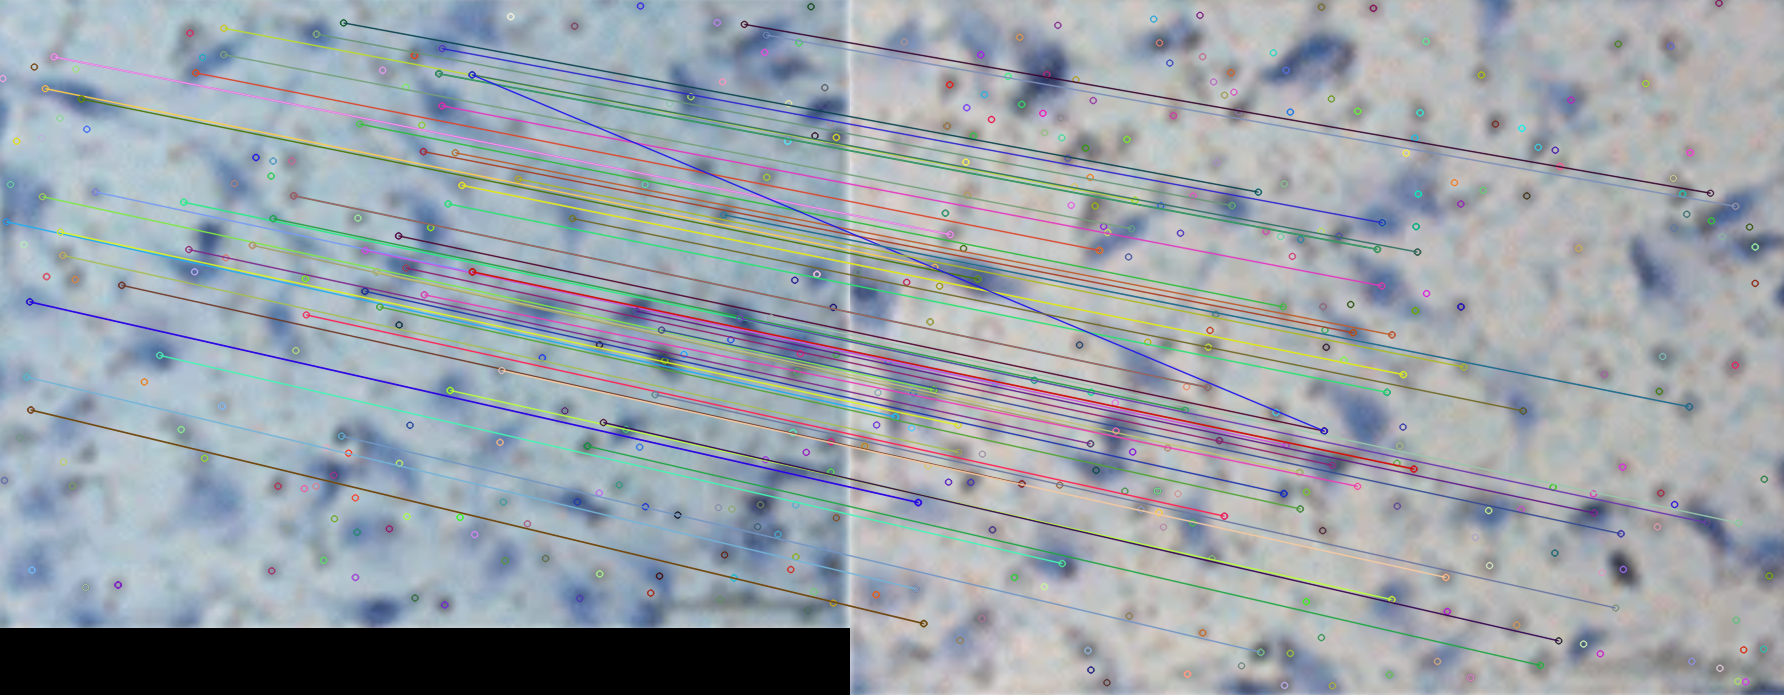
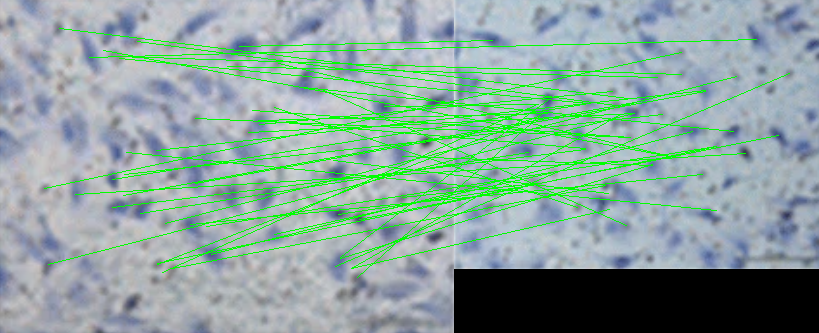
From this results, we can find that event though the elements of the images are complicated and the color is transferred, this algorithm could still do an awesome job.
Here we are using the RootSIFT rather then standard SIFT which requires cv2.xfeatures2d module. What’s the difference between them?
SIFT (Scale-Invariant Feature Transform) is an algorithm used to detect and describe local features in images. It was developed by David Lowe in 1999 and is widely used in computer vision applications, such as image matching, object recognition, and stitching. The key advantages of SIFT are its scale and rotation invariance, as well as its robustness to changes in illumination and viewpoint.
RootSIFT is an extension of SIFT proposed by Arandjelović and Zisserman in 2012. The main idea behind RootSIFT is to improve the performance of the original SIFT descriptor by applying a simple element-wise square root normalization to the descriptor values. This normalization helps to better differentiate between descriptors and improves matching performance, especially in scenarios where the distribution of descriptor distances is heavily skewed.
The best scenarios for each method:
Standard SIFT:
General-purpose feature detection and description
Applications where scale and rotation invariance are required
Object recognition, image stitching, and 3D reconstruction
RootSIFT:
Improved performance in scenarios with skewed descriptor distance distributions
Better differentiation between descriptors for more accurate matching
Applications where a more discriminative descriptor is neededIn summary, RootSIFT is an improvement over standard SIFT in terms of descriptor matching performance. It is especially useful in scenarios where the distribution of descriptor distances is heavily skewed, and a more discriminative descriptor is required. However, for general-purpose feature detection and description, the standard SIFT algorithm is still widely applicable.
© ChatGPT4
Similarity by machine learning model
|
Similarity score: 0.9361447
How it work?
It compare the similarities of the images is by using a pre-trained deep learning model VGG16 to extract high-level features from both images and then calculate the cosine similarity between these features. Here’s an example of how you can do this using Keras with TensorFlow backend:
What is VGG16 (From ChatGPT4)
VGG16 is a deep convolutional neural network architecture proposed by the Visual Geometry Group (VGG) at the University of Oxford. It was introduced by Karen Simonyan and Andrew Zisserman in their 2014 paper, “Very Deep Convolutional Networks for Large-Scale Image Recognition” VGG16 contains 16 weight layers, including 13 convolutional layers and 3 fully connected layers. It was trained on the ImageNet dataset, which contains over 14 million images belonging to 1,000 different classes.
The primary purpose of VGG16 is for image classification, where it has achieved top performance in the ImageNet Large Scale Visual Recognition Challenge (ILSVRC). However, its learned features can also be used for various other tasks, such as object detection, segmentation, and image similarity comparison, as demonstrated in the previous code example.
Merits of using VGG16 for image similarity comparison:
- Pre-trained models: VGG16 is pre-trained on a large dataset (ImageNet), so it has already learned high-level features that can be useful for a wide range of tasks, including image similarity comparison.
- Transfer learning: Since VGG16 has already learned high-level features, you can use it as a feature extractor for your images without having to train the model from scratch.
- Robustness: VGG16 can extract features that are robust to variations in scale, rotation, and translation, making it suitable for comparing images with different sizes and orientations.
Disadvantages of using VGG16 for image similarity comparison:
- Computational complexity: VGG16 has a large number of parameters, which can make it computationally expensive to use, especially on devices with limited computational resources. This can be a concern if you need to process a large number of images or require real-time processing.
- Model size: The model size of VGG16 is relatively large (around 528 MB), which can be a concern if you have limited storage or need to deploy the model on edge devices.
- Newer models available: Since the introduction of VGG16, several more advanced architectures have been proposed, such as ResNet, Inception, and EfficientNet, which can achieve better performance with less computational complexity and smaller model sizes.
In summary, while VGG16 can be used effectively for image similarity comparison, its computational complexity and model size might be a concern for certain applications or devices. In such cases, you may consider using more recent and efficient architectures like ResNet or EfficientNet for feature extraction.
|
= = I am not quirt accept this results
|
Compare the similar of two images
https://karobben.github.io/2023/05/12/Python/opencv-similarity/